Adding Post and Products
With Microweber, adding a new posts and products is a very simple task. You have a number of ways to do that, depending on your preferences and sense of comfort.
One
way to navigate your mouse on the "+" button next to the "Posts"
or "Product"s link in the left menu on your screen. When you're at
the right spot, the "+" button transforms into an "add"
link - just click on it and you're set.
Don't forget you can always work in
Live Edit mode for a super intuitive and easy experience.
First, click on the "Website" menu in the upper left section of your screen. The dropdown menu shows up.
One way to navigate your mouse on the "+" button next to the "Posts" or "Product"s link in the left menu on your screen. When you're at the right spot, the "+" button transforms into an "add" link - just click on it and you're set.
The second option is to use the "Add New" drop down menu in the upper left corner of your screen. When you click on it, you will see a menu, where you can choose between "Page", "Post", "Category", "Product" or "Marketplace Item". Guess what - all you have to do is choose the "Post" or "Product" icon and you are ready to go.
 The
third option is to click on the "Add New Product" or "Add New
Post" button as shown below in the video.
The
third option is to click on the "Add New Product" or "Add New
Post" button as shown below in the video.
Once
you are in the "Add New Post" or "Add New Product" screen,
give your post or product a title. If you are adding a new product, give it a
price in the price field and add a description in the text field. If you are drafting
a new post, just do the same, skipping the price field.
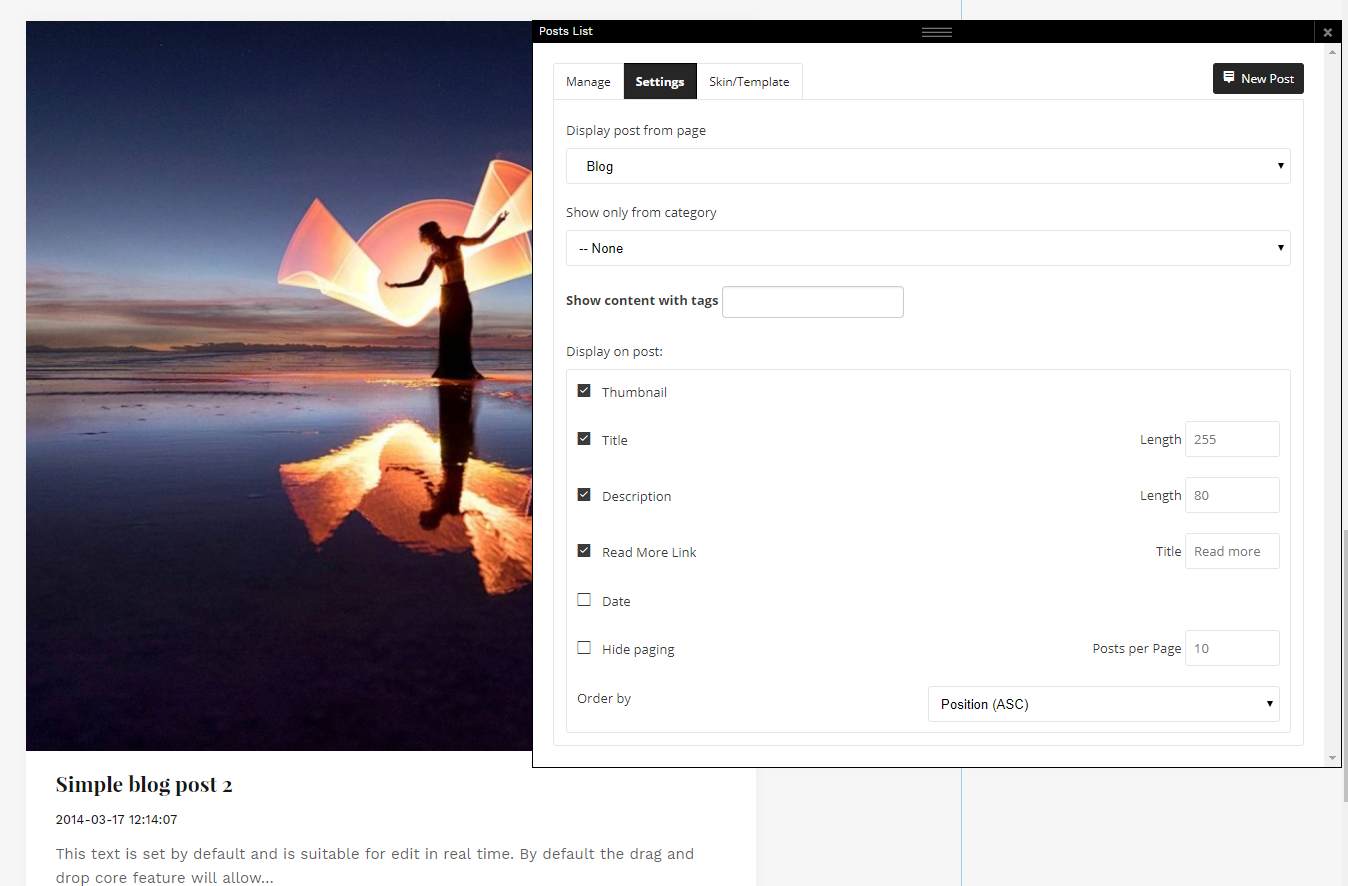
Click on "Settings" to add a parent page to your new product or post, add images, add it to navigation and add custom fields. You can also go to "Advanced" options for some super easy extra settings that will secure even better customization.
With the "Add New Product" and "Add New Post" features, you have full control of your offering and content.