Header and Footer Menus: Creating and Editing them
Creating
a well-constructed Header and Footer Menus is a key to good visitor orientation
in your website, blog or online shop. You can utilize both menus to showcase
your content and attract additional attention from visitors.
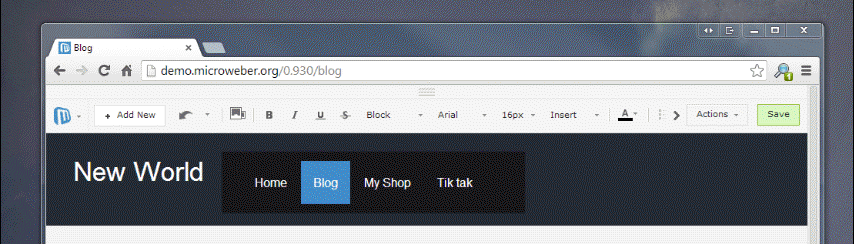
When you have newly created your website using Microweber, you will only have a Header Menu with three sections on it. These are the Home, Blog and Online Shop sections. You can edit them per your choice - for example by renaming them and changing their content.

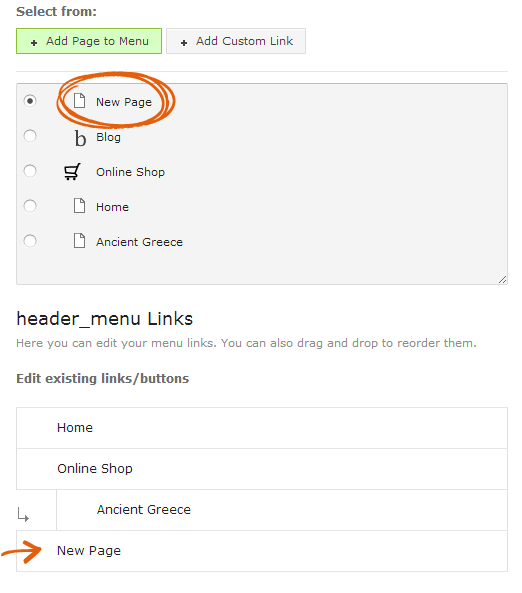
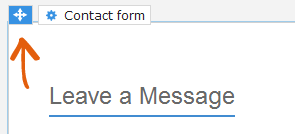
In case you wish to add a New Page to your Header Menu, this is most easily done in Live Edit view. Navigate to the Header Menu itself and click on little Menu options button on the left of the module. The opened up window contains all actions needed to edit your menus. Here is how it look:
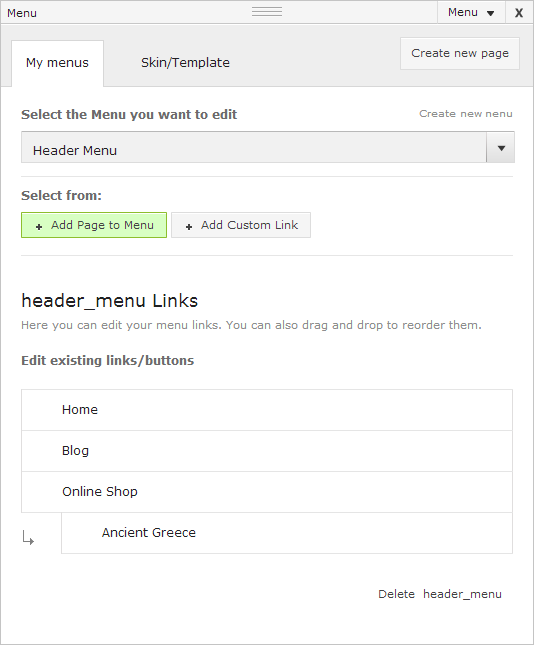
First, choose which menu you wish to edit – a dropdown menu lets you choose between Header and Footer.

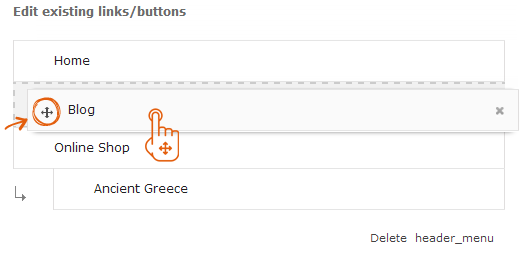
Whichever you choose you will be shown the current existing pages on this menu. You can easily rearrange them by dragging and dropping with the cursor.
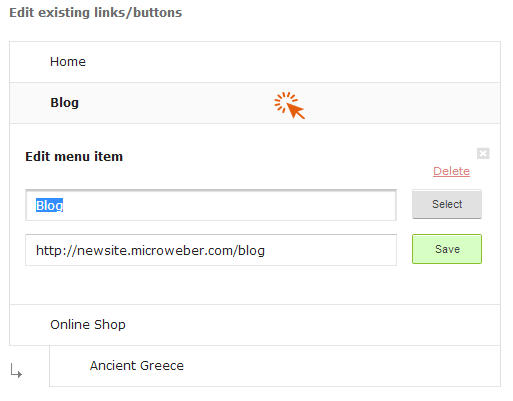
You can also edit them by clicking on an existing page – thus you can either set a new title of this page, or link it to different content on your website.
There are two different types of content which can be added to the Header and Footer Menus:
- A new Page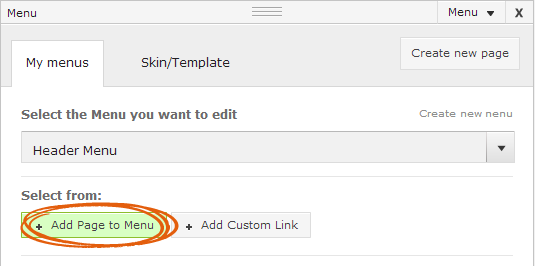
Then you will see this screen. It is needed to have created your new page already.
- A new Custom Link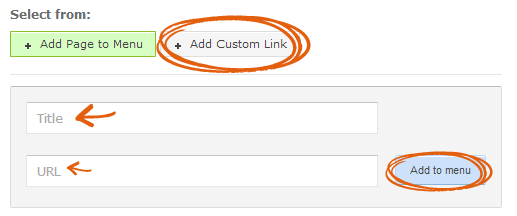
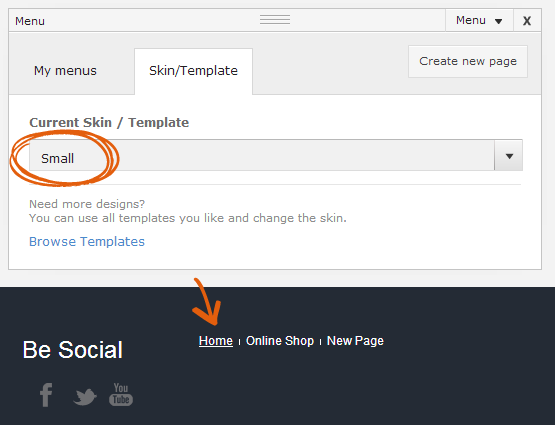
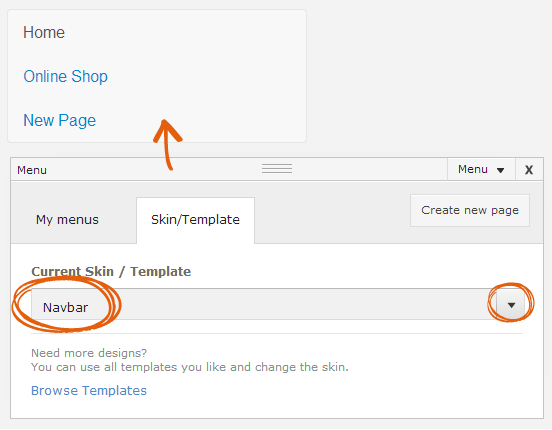
As many other Microweber CMS features, the Header and Footer Menus are additionally customizable with Skins/Templates. There are five Skins/Templates differing by their shape, size and overall looks:
- Default

- Small (very useful for footer menu)
- NavBar (you can use it as a left/right site bar menu)
- Pills (can be used for header menu)
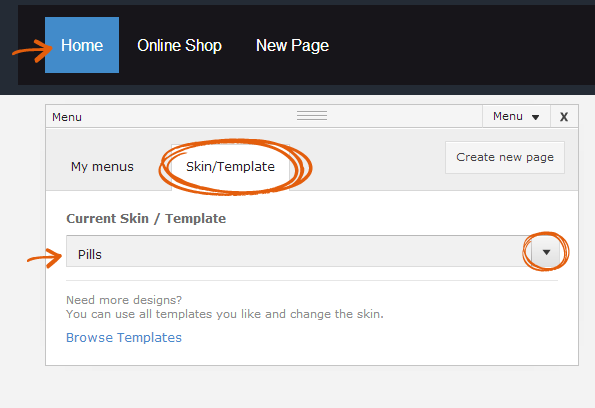
- Tabs (just tabs)
You can also use the slider to resize the ratio between elements on the Header/Footer Menu.In case you lack a Header or Footer Menu, you can insert one on your page. Clicking on the Modules Bar (the three horizontal lines at the top of the page in Live Edit) will show you the different modules. Navigate through it and find the Menu Module. You can insert it into the desired place on your website’s interface.
IMPORTANT: Whenever you create a New Page it will be added to the Header Menu by default. If you wish to change this preference, on the Admin panel click on the Add to Navigation Menu tab just below the new post body.
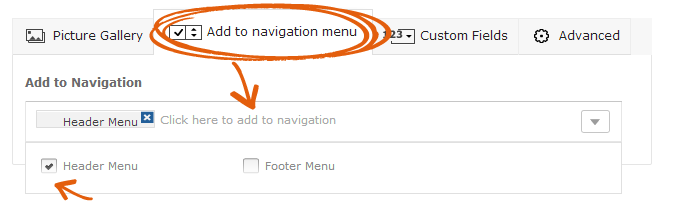
You can choose whether to:
- Add your post to the Header Menu
- Add your post to the Footer Menu
- Add your post to both menus
- Not add your post in any of the menus
IMPORTANT: If you wish to change the color of your Header and Footer menus, don’t worry, it’s easily done. All you have to do is:
- Select your Header or Footer menu with the mouse
- Then click on the Actions button (located in the top right corner when in Live Edit view)
- From there click on the Tools
tab
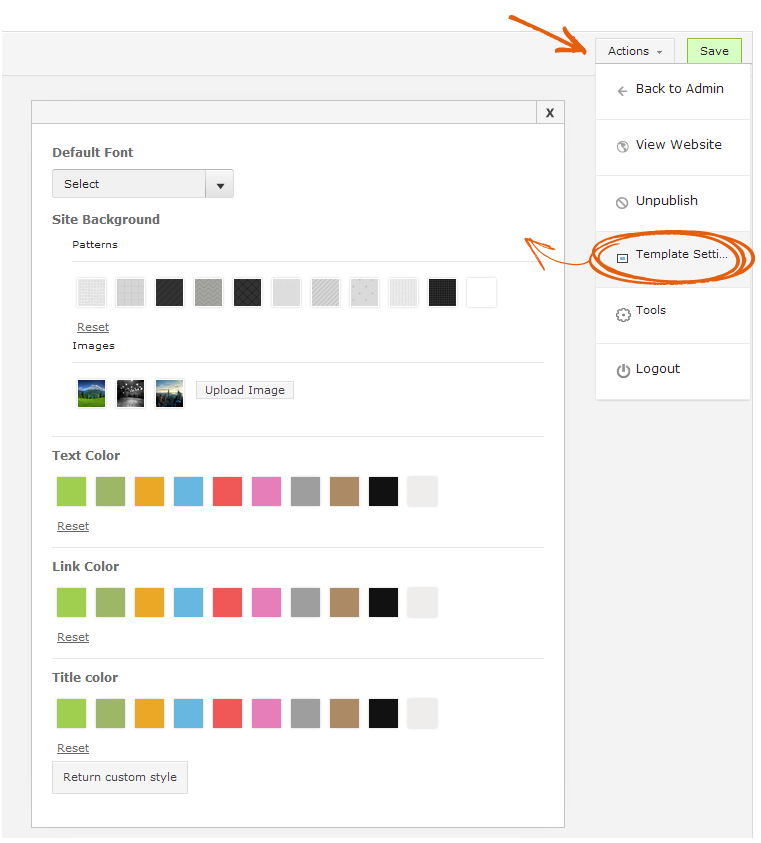
- Select Background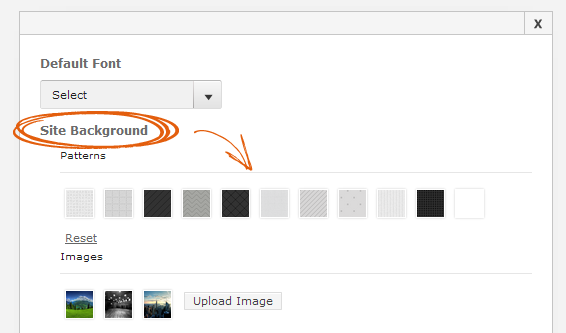
- Choose your Background color or Background image. You can then select one of the colors used in the default Microweber template or make your custom color.
You can also check out the Tools
menu (again accessible through the Actions button). It gives you the freedom to
change the color of a certain element, define its size, margins, border or some
other settings. 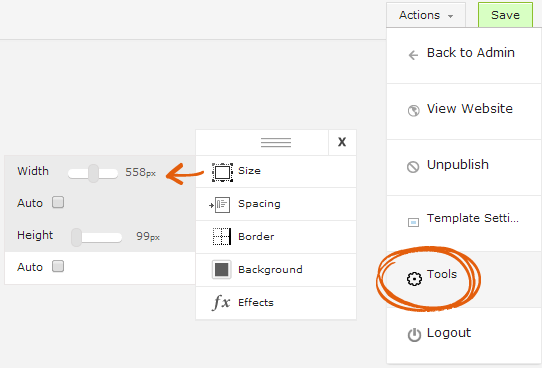
Here's an example:

Comments for Header and Footer Menus: Creating and Editing them
Log in