Creating a Blog Post
Your ideas, thoughts and interests matter. There is a whole internet community waiting to hear about them, after all! This tutorial will give you some insight on how to share with Microweber in a quick, easy manner.
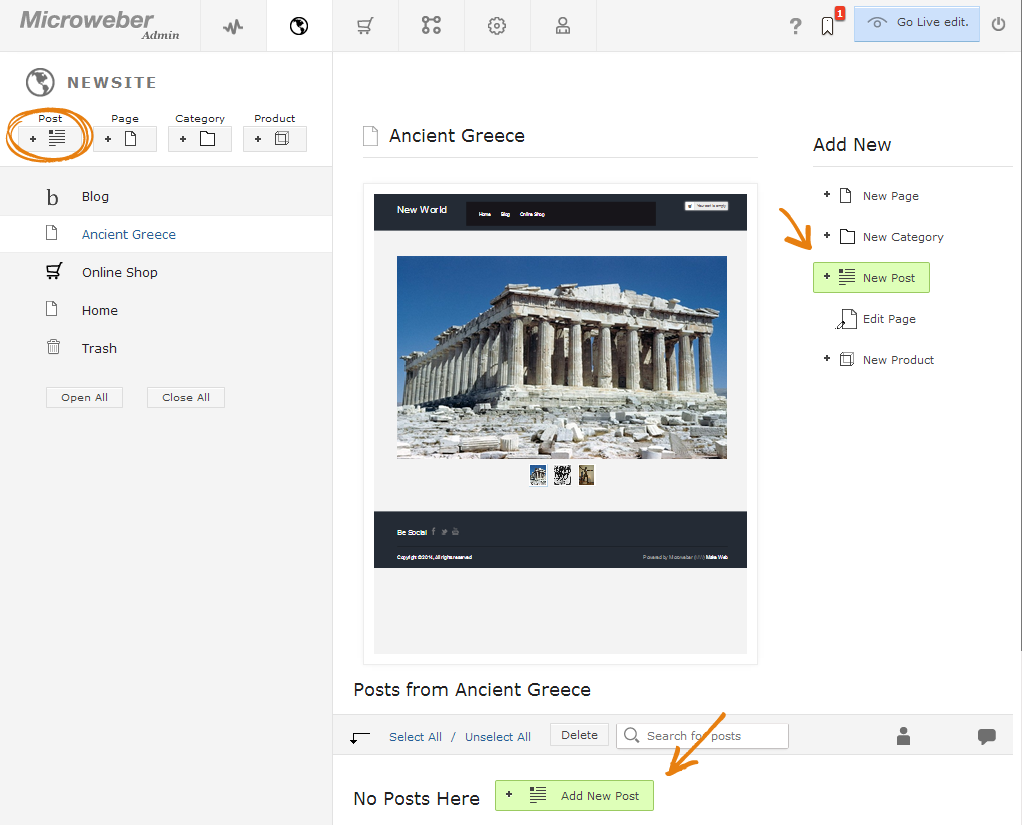
There are two ways to create a New Post. You can either do this from your Website Tree on the left or select an existing which will prompt an Add New menu to appear on the right. From here you can choose to create a New Post, Page, Category, or Product. New posts can either be listed under parent pages and categories or created on their own.
The New Post page in the Admin Panel is divided into:

1) A Title and an Unpublished/Published button. Choose the "Unpublished" option if you don’t want your content to be available on the site until you’ve finished with your post.

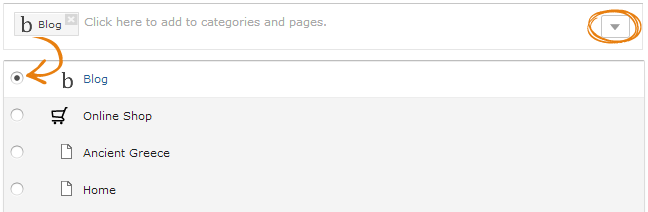
2) A Parent Page bar that lets you choose the parent page for your new post or create your post without any page as a parent.
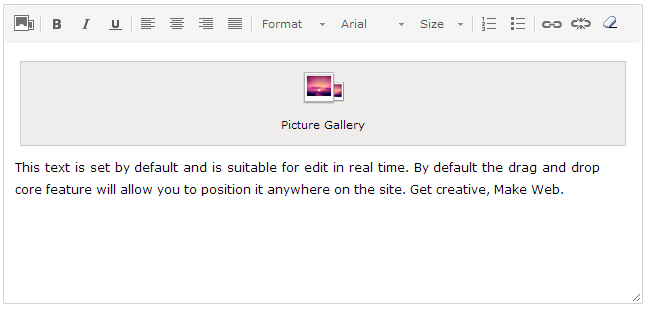
3) Blog post body that includes a Picture Gallery module, a Title module and a Text Field module.
4) Functional tabs like Picture Gallery, Custom Fields and Advanced settings.

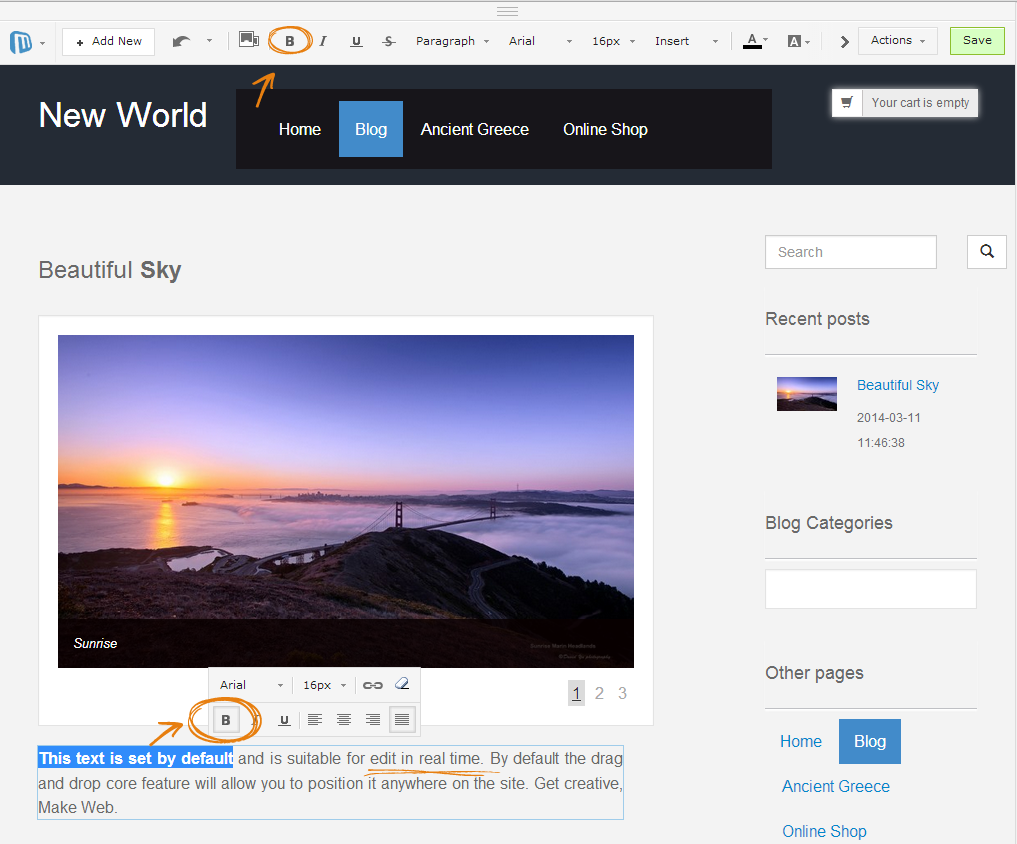
Writing the title of your blog post in the Admin Panel gives you access to the Live Edit view. The Live Edit view lets you manage your content in real time on the website itself. You can switch to Live edit mode from the blue button on the top-right or directly from the post you create now.

By default, as it was mentioned already, the blog post consists of three added modules – a Title Module, a Picture Gallery and a Text Field. You can delete any or all of them if you wish and add your own modules.
When you working on Live edit you are able to write or edit the text directly as you see it.
Clicking on the three horizontal lines at the top of the screen reveals the Modules menu, containing different features that contribute to making a great blog post. Among these are text modules (Title, Text, Multiple Columns), multimedia modules (Picture, Picture Gallery, Video) or others: for example the Contact form, Button or Checkout module.

Inserting different modules on your page is easy – you just have to drag them through the screen and drop them to the desired place. Even if you drop a module on an undesired location you can easily rearrange your content by a quick drag with the mouse. Most modules come with rich customization: pictures can be added using a different style for them to appear (in columns or in a sliding gallery for example), embedded videos can be resized per your choice, the Buttons module can be renamed, lead to a specific link or be shown in different colors, and many more.
When writing your blog post you can switch to Layouts from the Module dropdown menu. Microweber CMS has more than 16 layouts at the moment, each of them helping the blogger, online entrepreneur or website builder in a unique way. For more on the Microweber Layouts see our Layouts Tutorial.

After
you’ve finished with your post, don’t forget to check the Publish button if you've
set the post to be Unpublished before. This is done via the Actions dropdown
menu in the top right corner. You can also choose the View Website option from
the same menu and view your post as if you were a random website visitor. 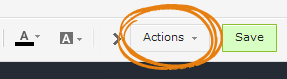
Save your content and your blog post is fully live.

No comments
Log in